Add Hover domains to Notion websites
.jpg)
Connecting a custom domain to Notion websites isn't that hard. In fact, if you have a domain bought through Hover's registrar, we're now going to show you how to add a Hover domain to Notion.
To add a Hover domain to your website, make sure you first built your free Notion website. With this being said, let's move on to the tutorial!
How to add a Hover custom domain in Notion
Shorty, you just have to copy your Simple.ink website's details and paste them into Hover's DNS section. It's that easy!
Though, for the full explanation, we highly recommend following this guide throughly so you could see the whole process to adding Hover to Notion websites.
1. Copy the Simple.ink DNS
Before everything, you want to go to your Simple.ink-built website's "Domain" section and copy the DNS settings that you're later going to add in Notion.
-min.jpeg)
To make it easier for you, here are the DNS details that you have to copy.
- Host/name: @
- Type: A
- Value: 75.75.21.21
Not having a Notion website? Get your free Notion-built website.
2. Go to Hover's DNS settings
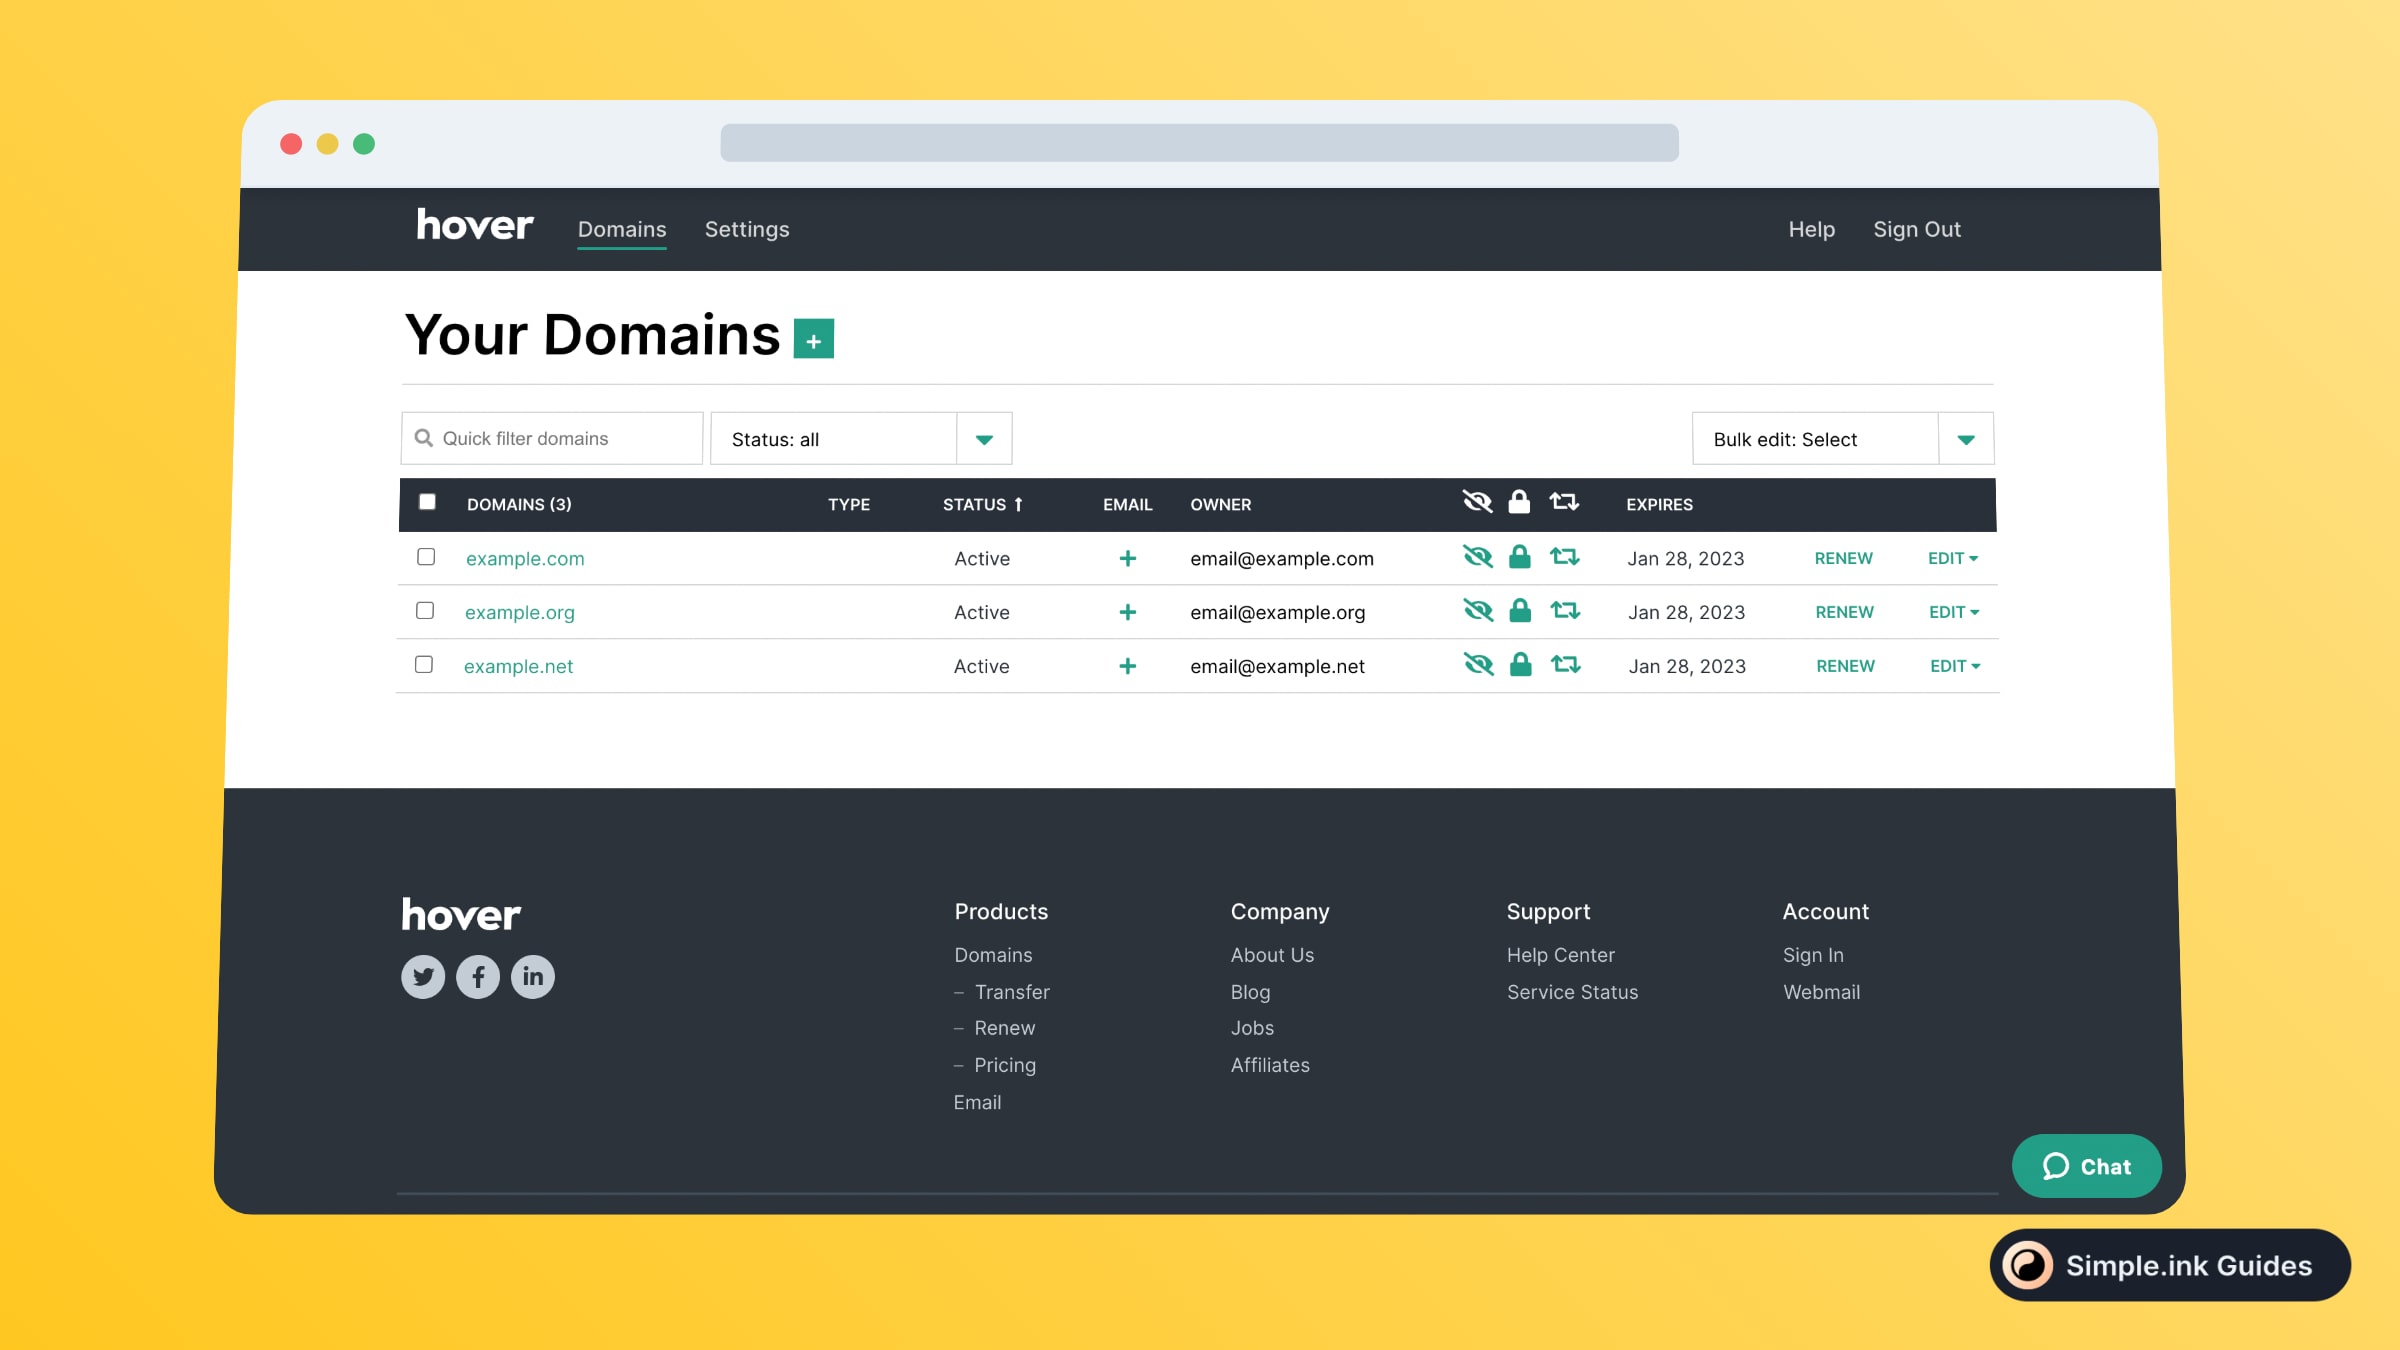
Up next, you have to go to the Domains Settings in Hover. There, you're going to see a list with all of your domains bought with Hover.

Once you're there, select the domain that you want to be added to your Notion website.
3. Add Hover to a Notion website
What you want to do is click the "ADD A RECORD" button and add the details that you've copied at the previous step.
-min.jpeg)
Once you've added them and saved the changes, you should see something just like in the image above.
With this being said, congrats! You've just connected a Hover custom domain to a Notion website. Not so hard, huh?
Can you add Hover custom domains to Notion?
Yes, you can connect Hover domains to Notion websites. All you have to do is copy and paste 3 lines of DNS text. That's it!
If you've enjoyed this guide, then you might want to look into: Google Domains to Notion and/or GoDaddy domains to Notion. Thank you for reading this tutorial!
